
floored
Disclosure: Some of the links below are affiliate links, meaning at no additional cost to you, I may earn a commission if you click through and make a purchase.
From the day we saw the house, we couldn’t understand why the owners put in the horrible pink tile (HPT) floor. Actually, it wasn’t that big a mystery. The home was a rental for years. The original parquet floors were popping up. Instead of replacing them all, they replaced the dining room and hall with the HPT. The HPT connected to the parquet that ran through the rest of the house, except in the kitchen where there was HWT, horrible white tile - that contractor grade stuff used in banks vestibules.
The parquet would be easy to take up, but the HPT was going to take machinery. After Michael had to take the kitchen HWT up by hand over months, we weren’t interested in doing that again. Luckily the AMAZING flooring guy we found to finish our kitchen gave us a great price that included removing all the old flooring, but also helping move the furniture, lower the transition to the main bathroom (a major hassle for me in the wheelchair), and put up all the baseboards. After 4 years in the house, we were a go!

More than just the floors
Replacing the floors, any floors, is never just about the floors. In a 1960s ranch it necessitates looking at the bigger picture of what else should be renovated simultaneously and/or beforehand to avoid other renovation issues later. We started to make a list and got overwhelmed really quickly.
1. Paneling - Ugh the paneling that was weirdly buckling on the living room wall, and the fake beadboard paneling running down the bottom half of the hall walls. I was most nervous about this because we almost never have good surprises behind the walls of this house.
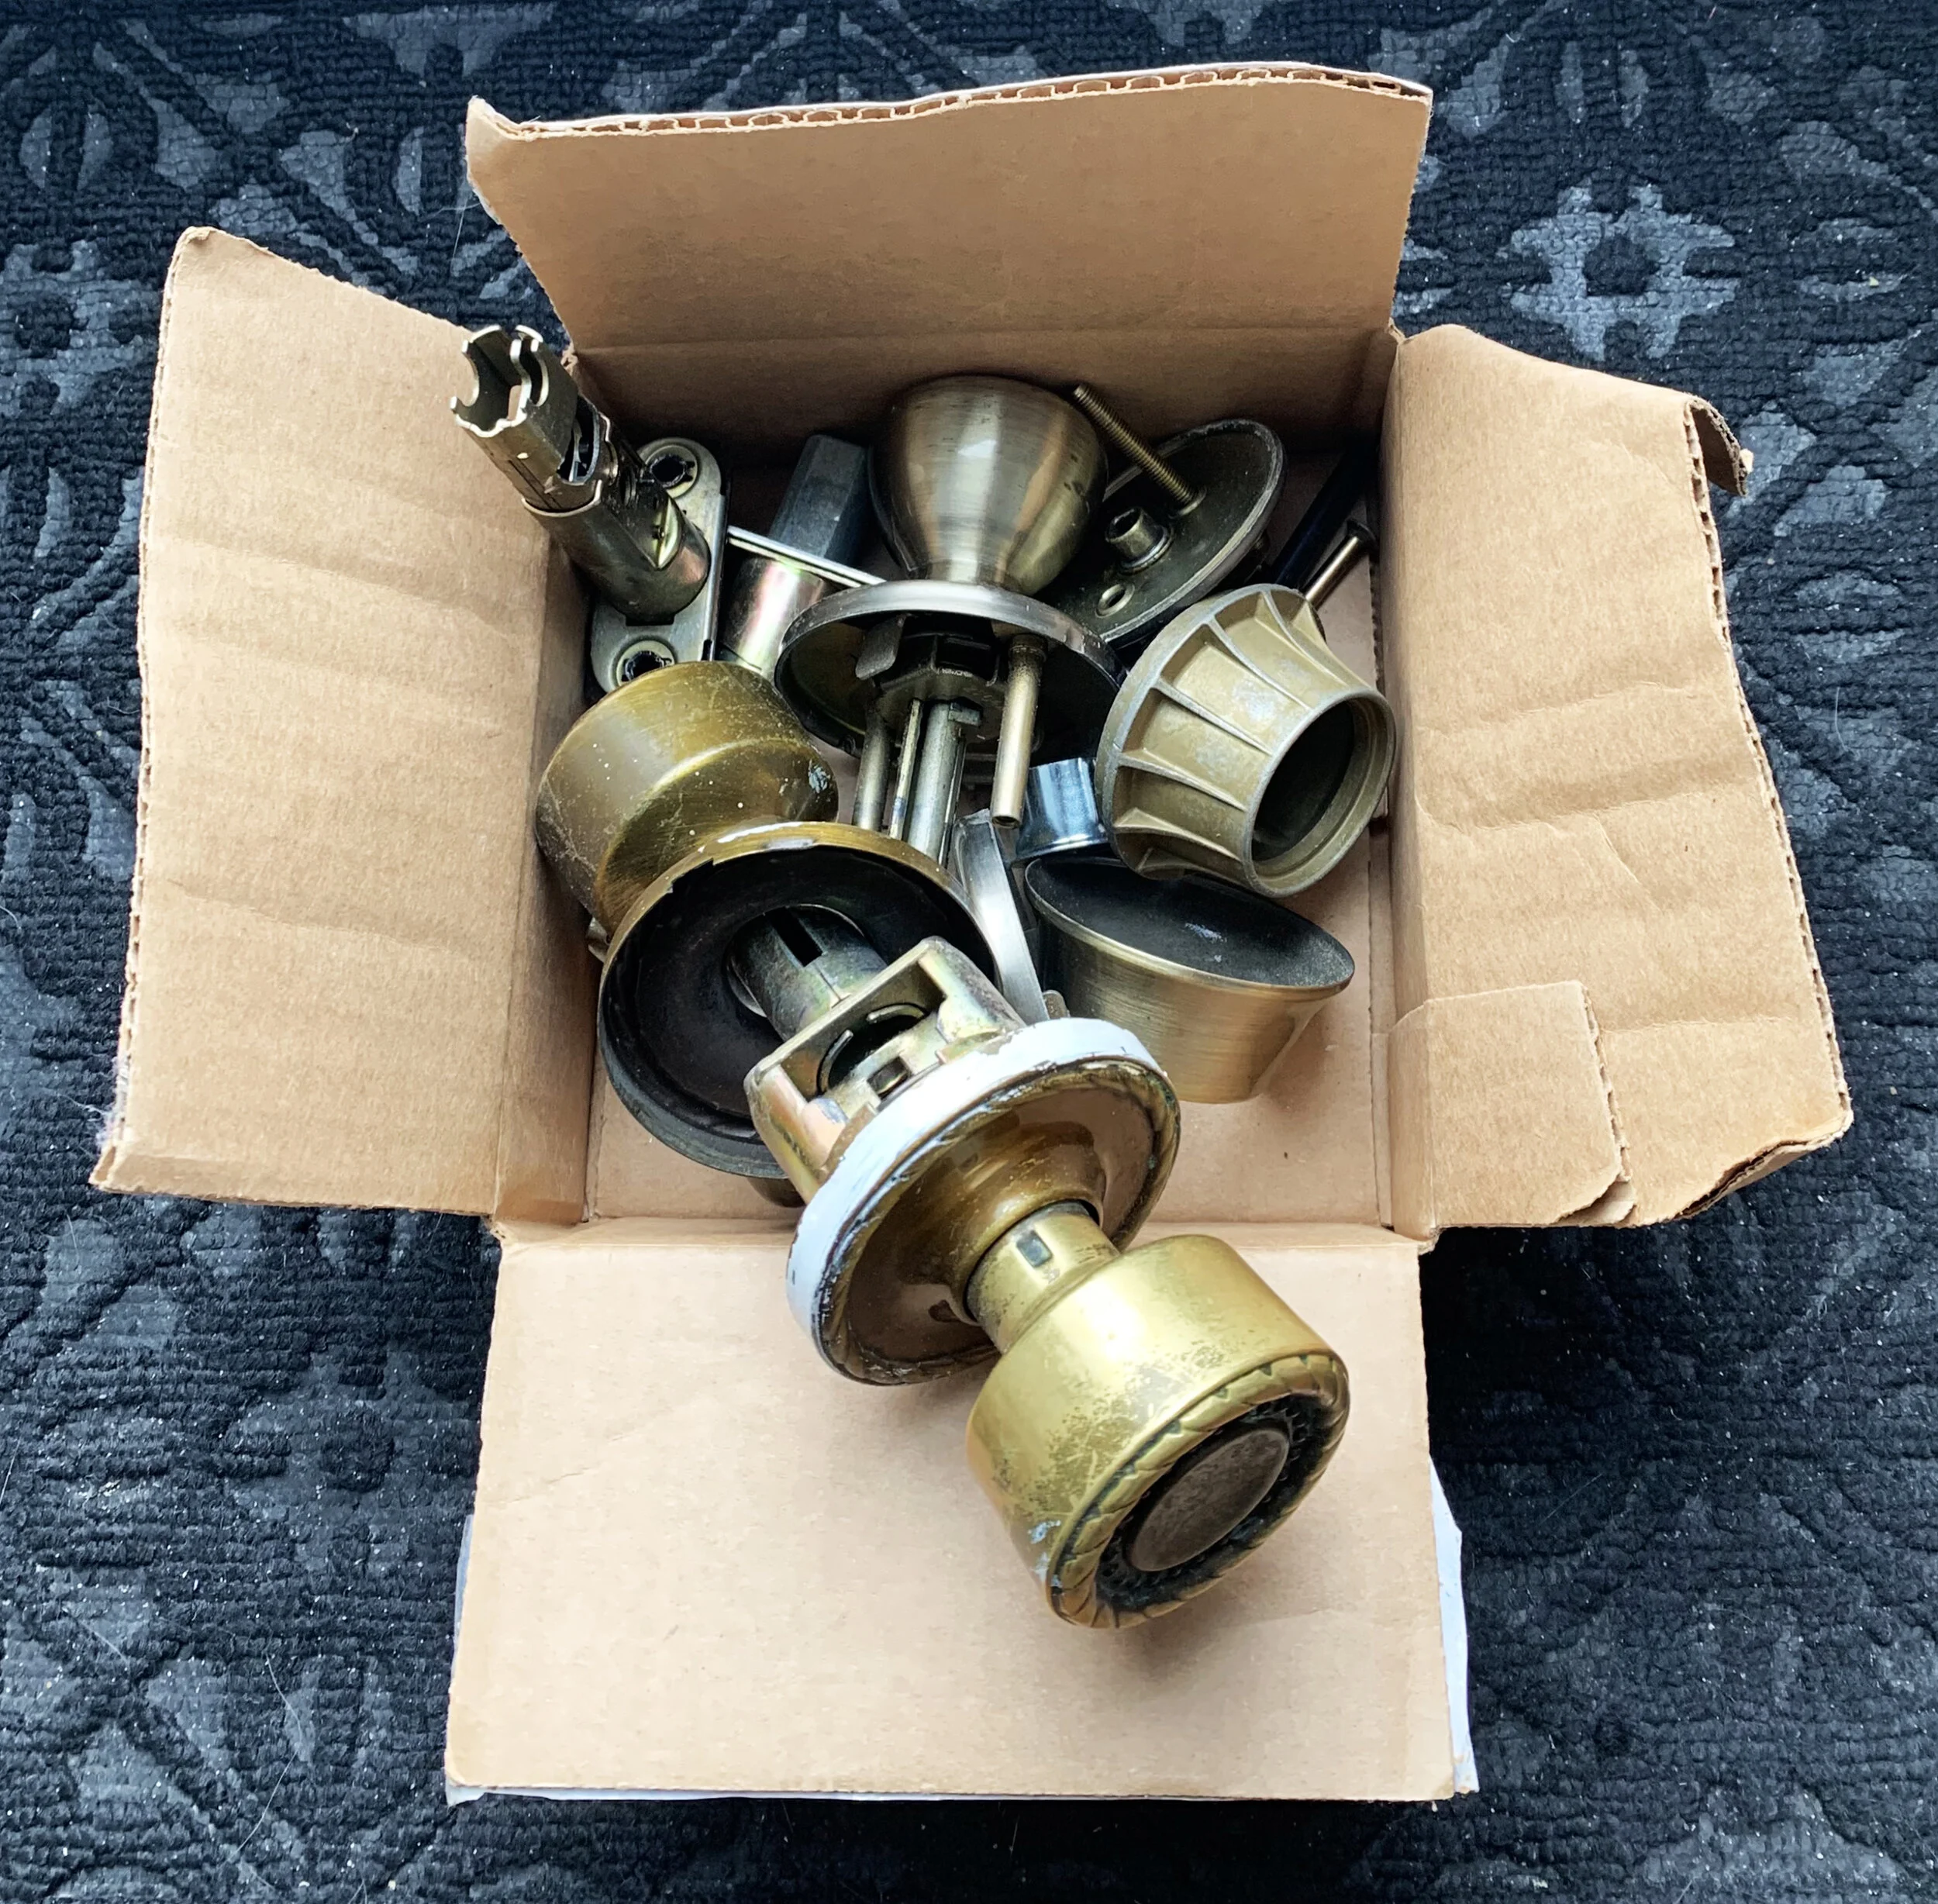
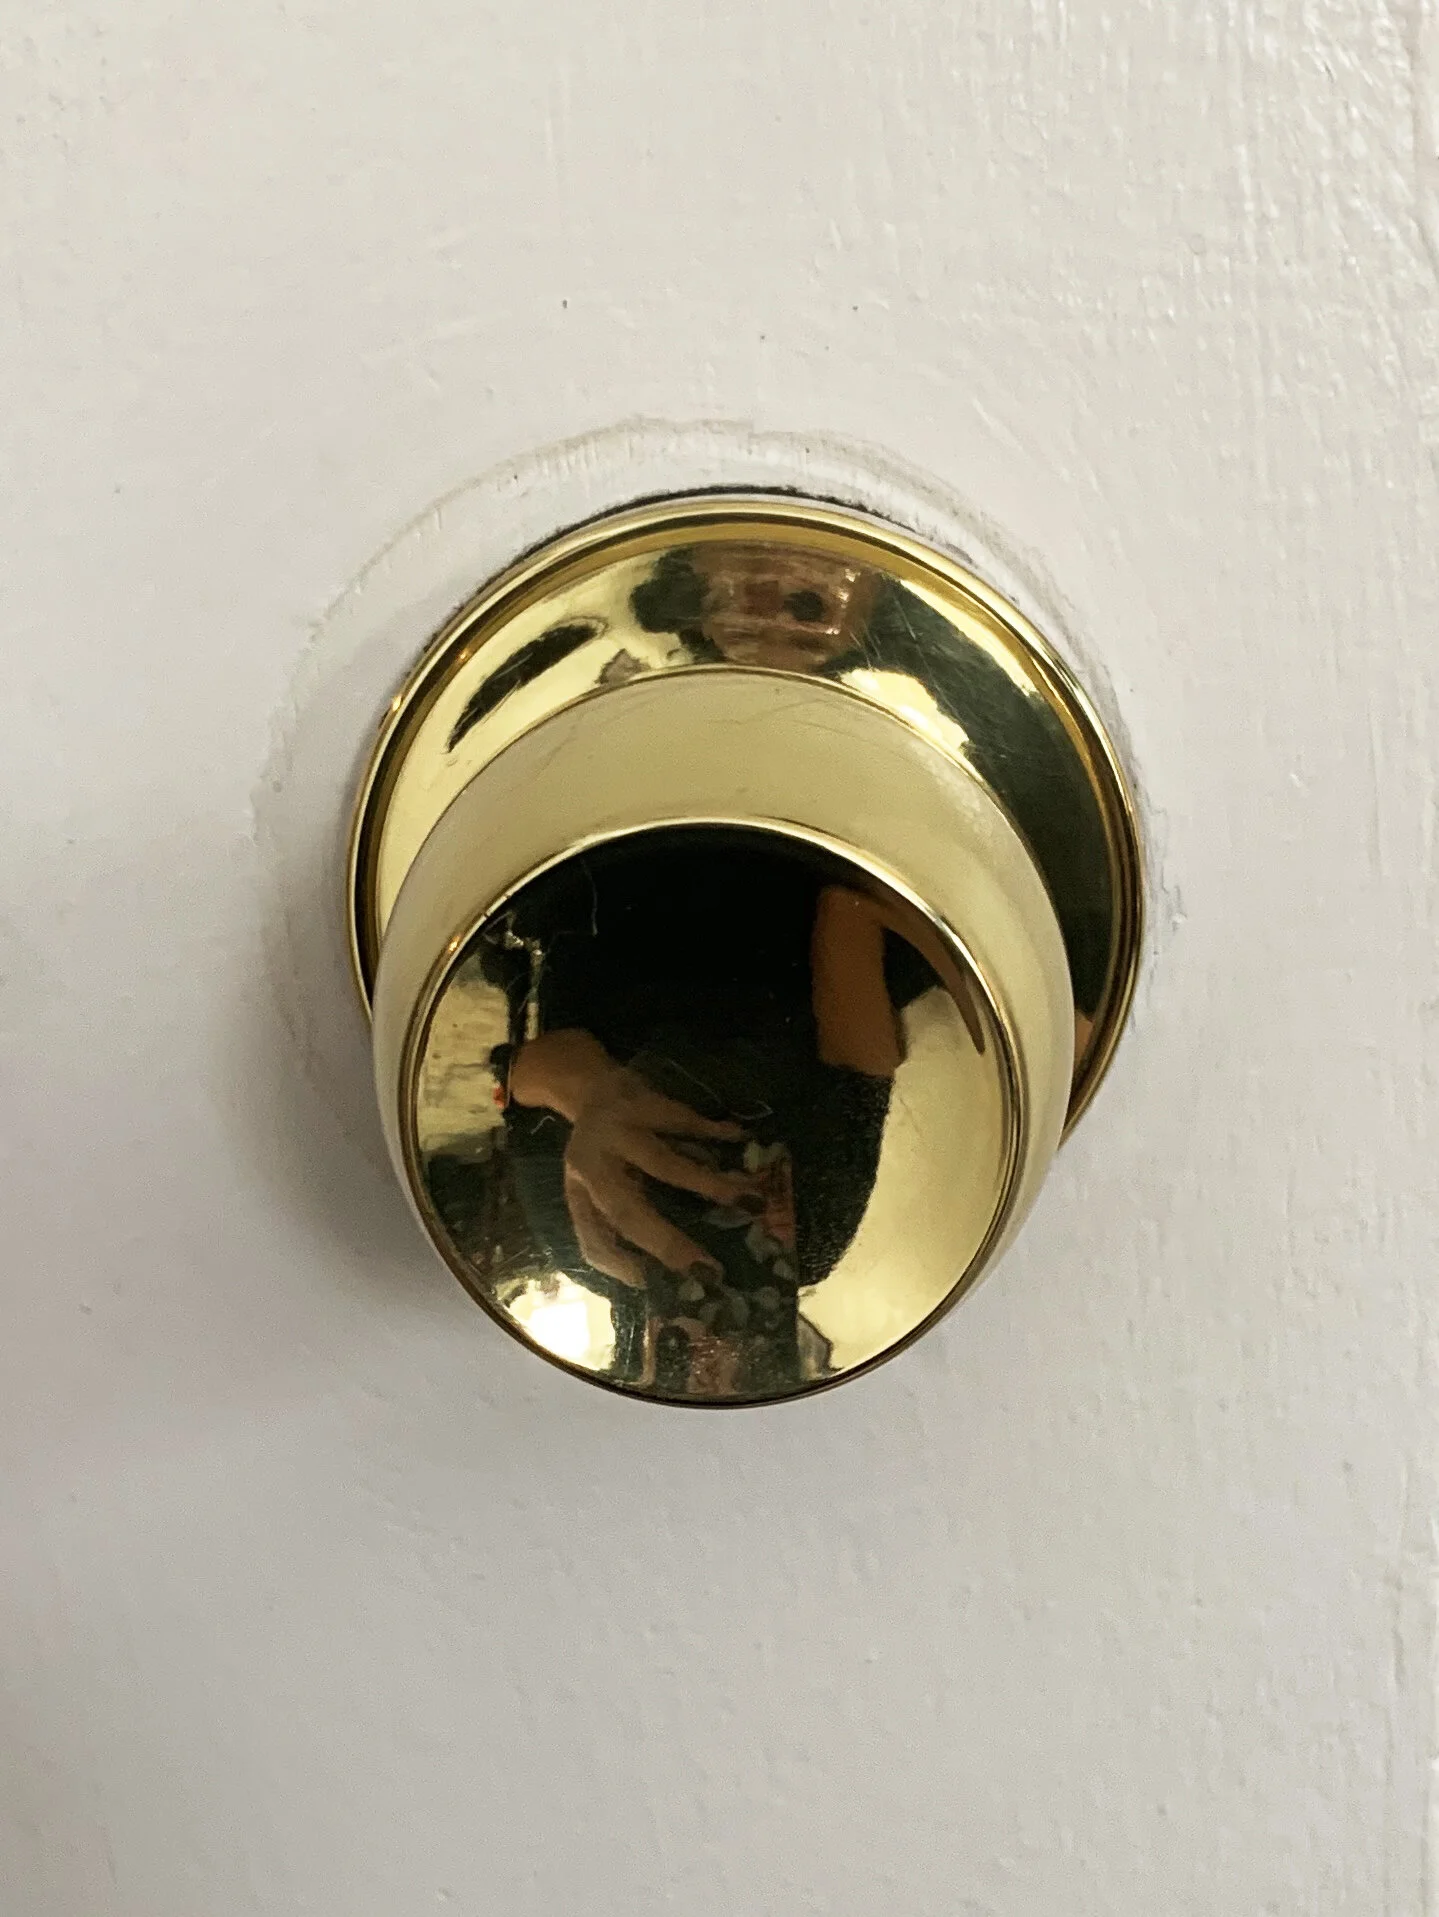
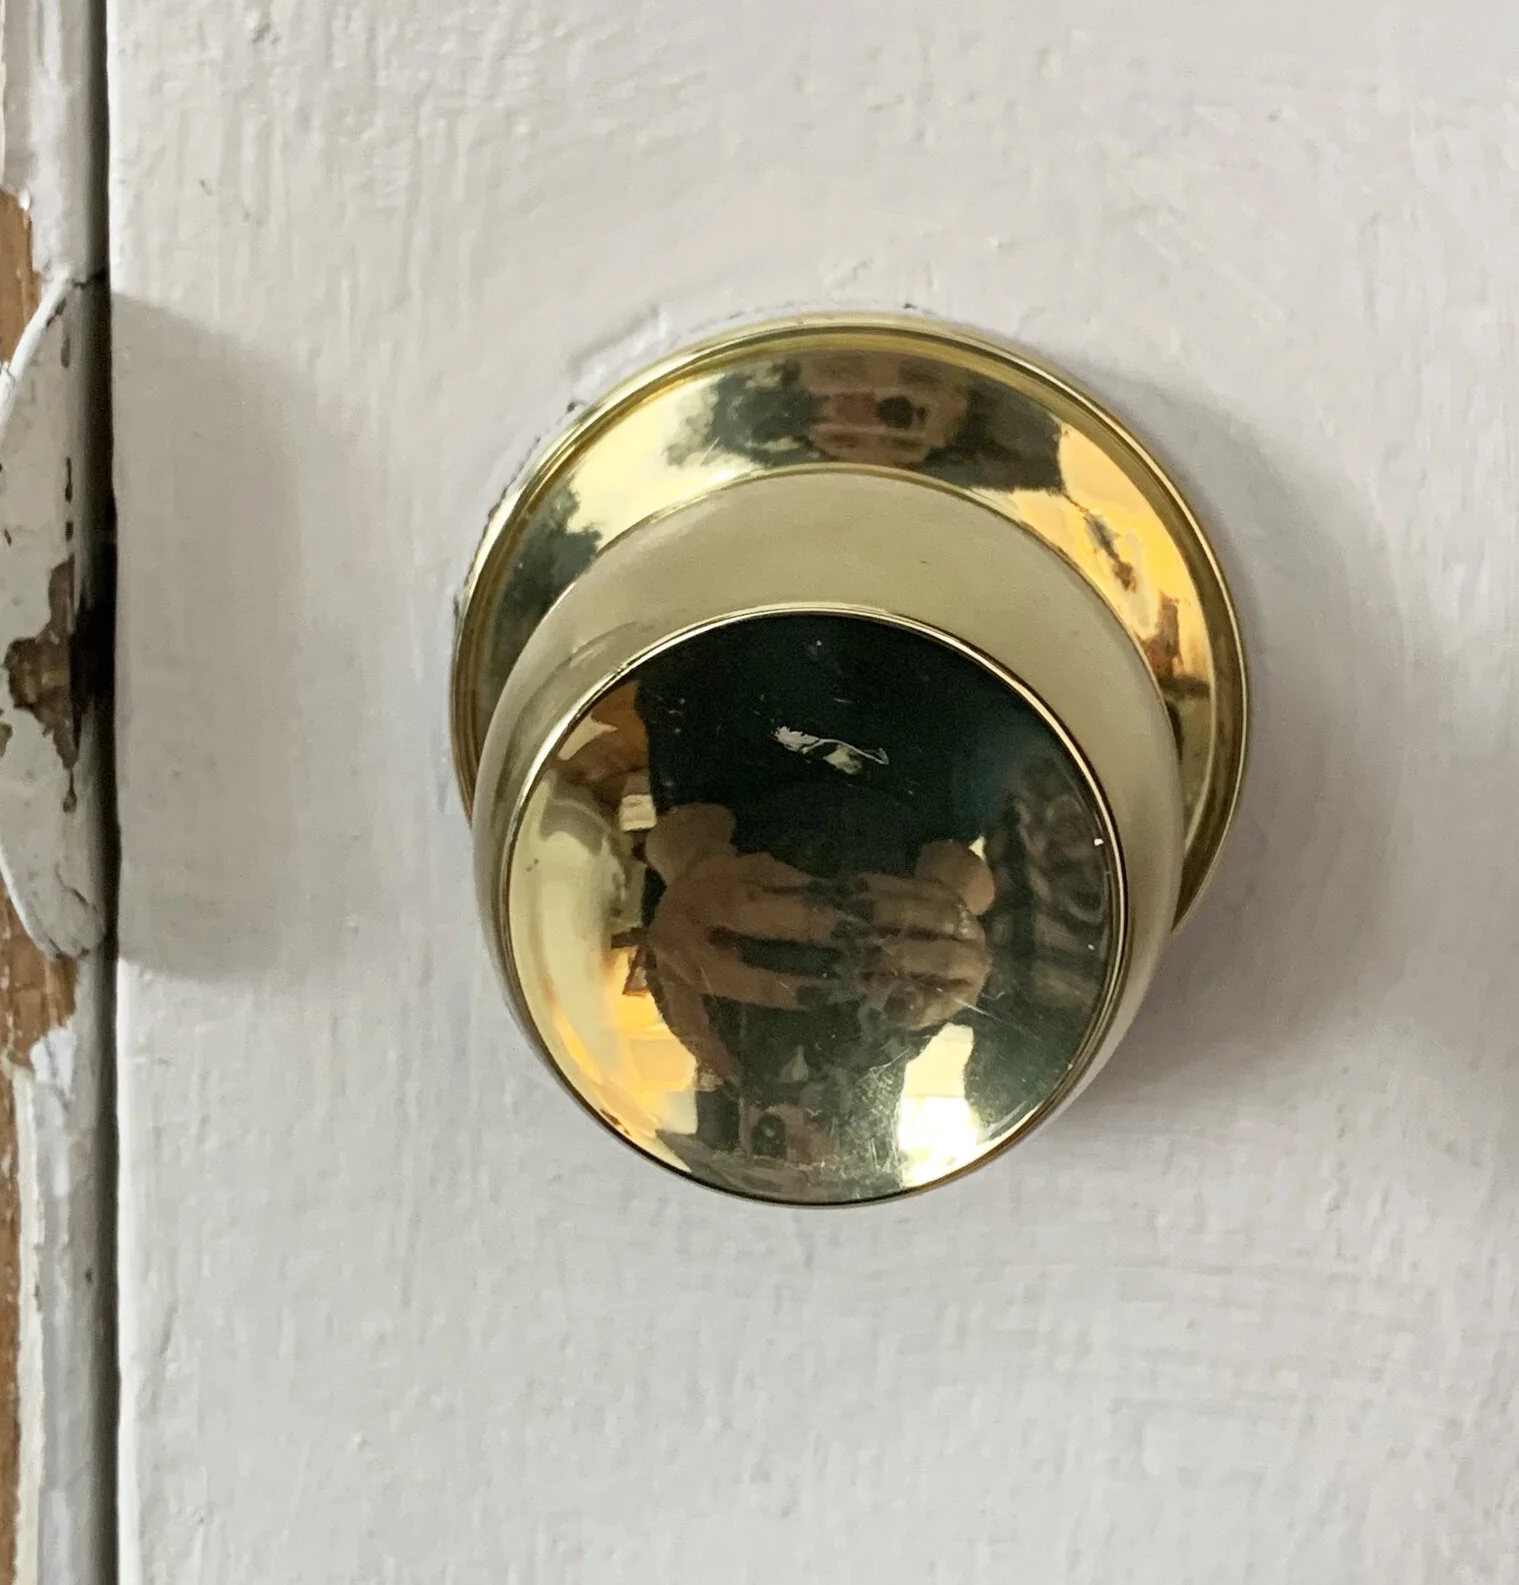
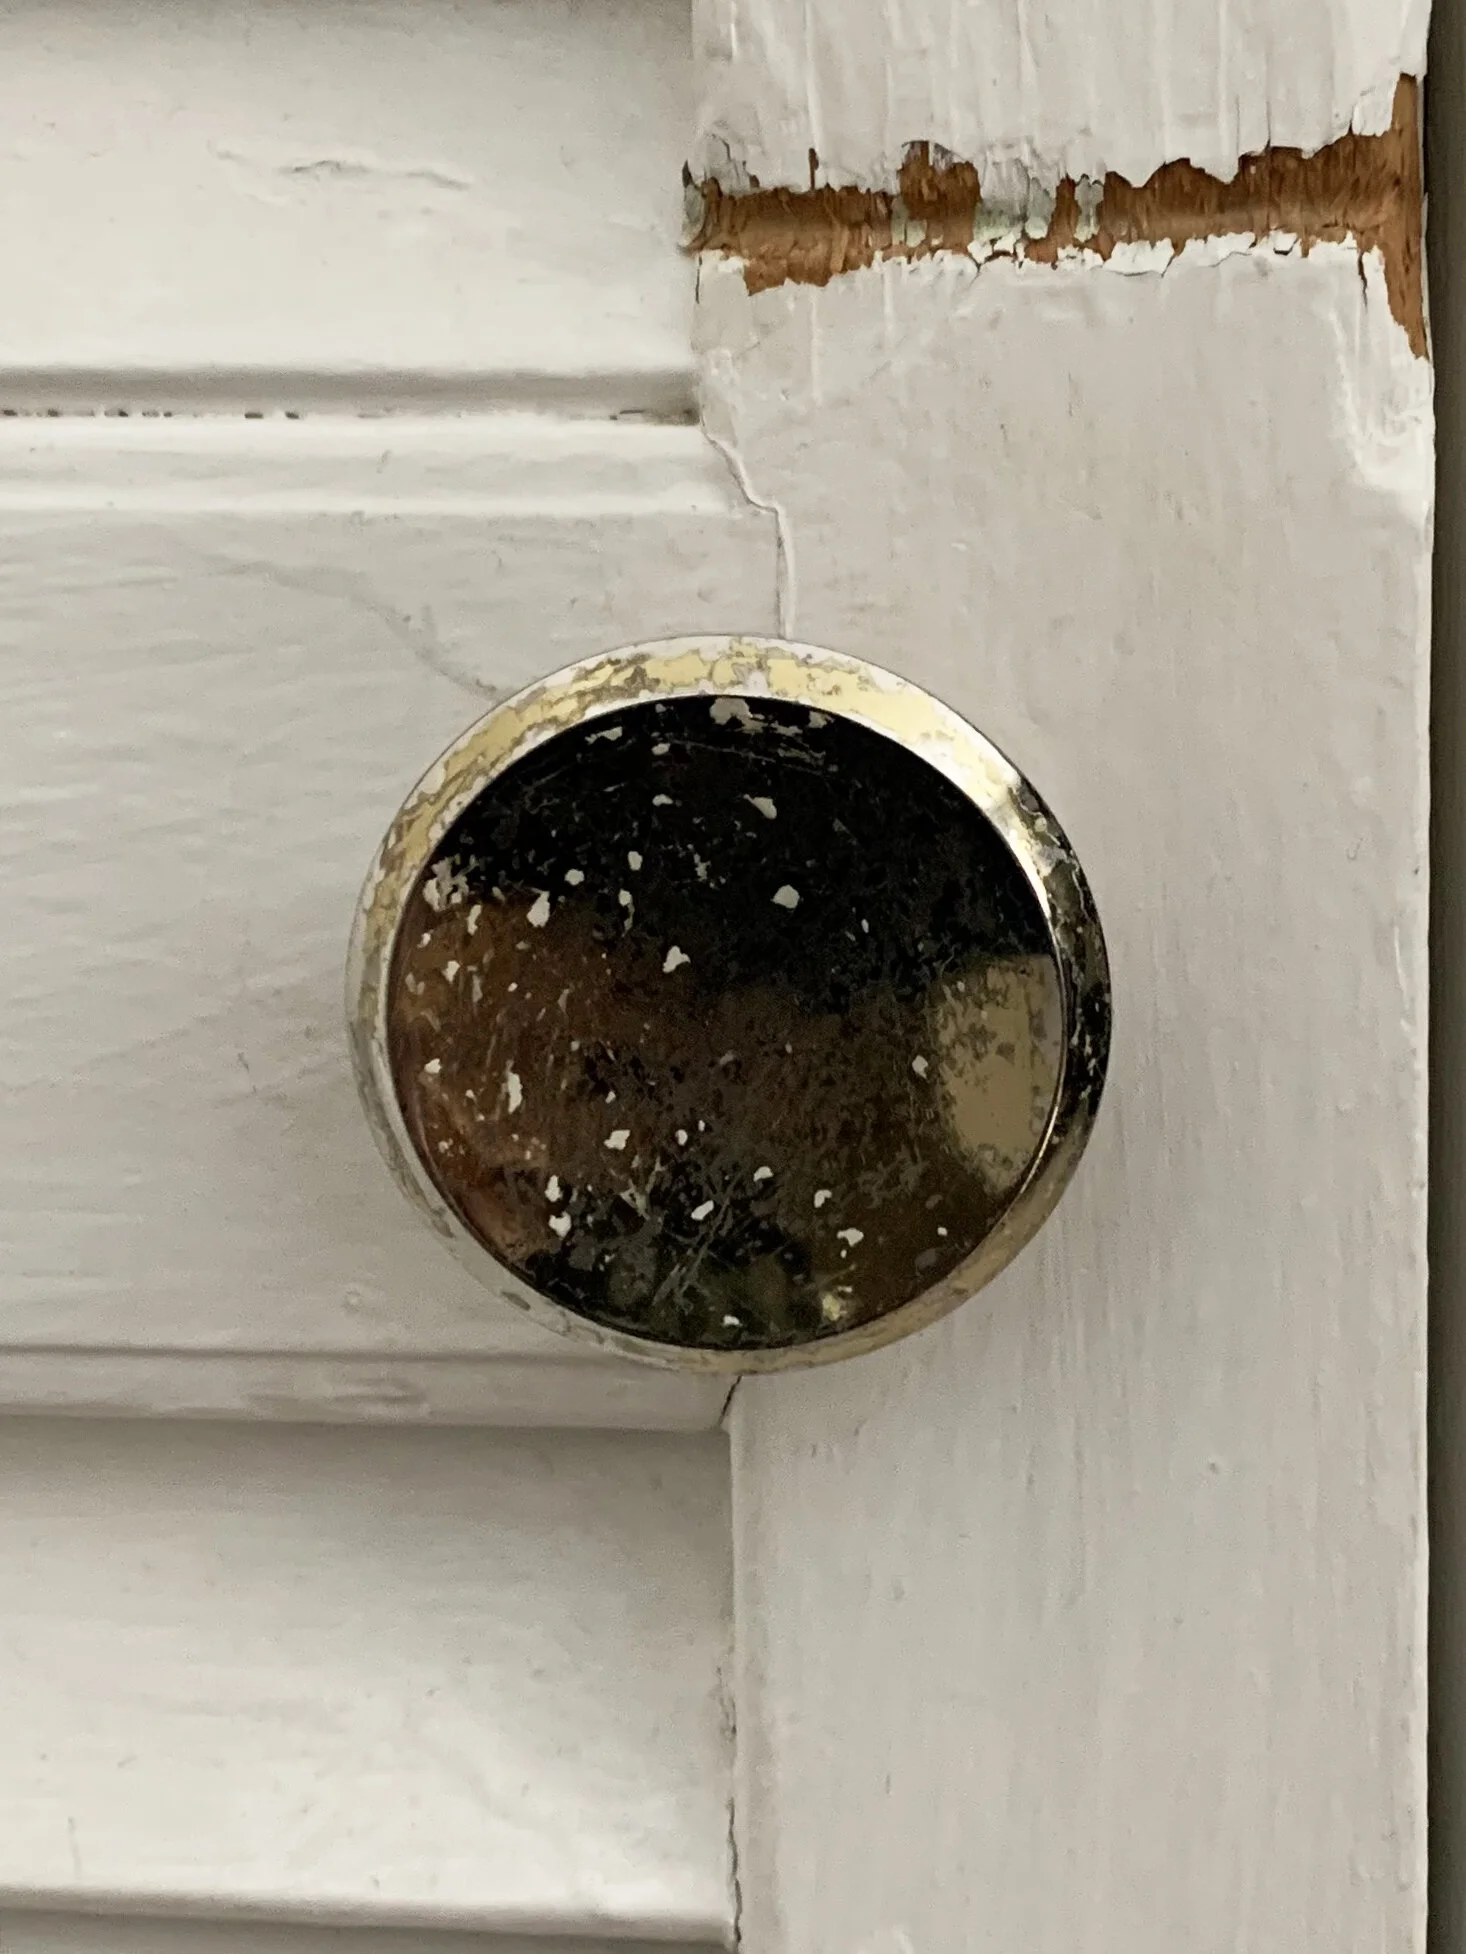
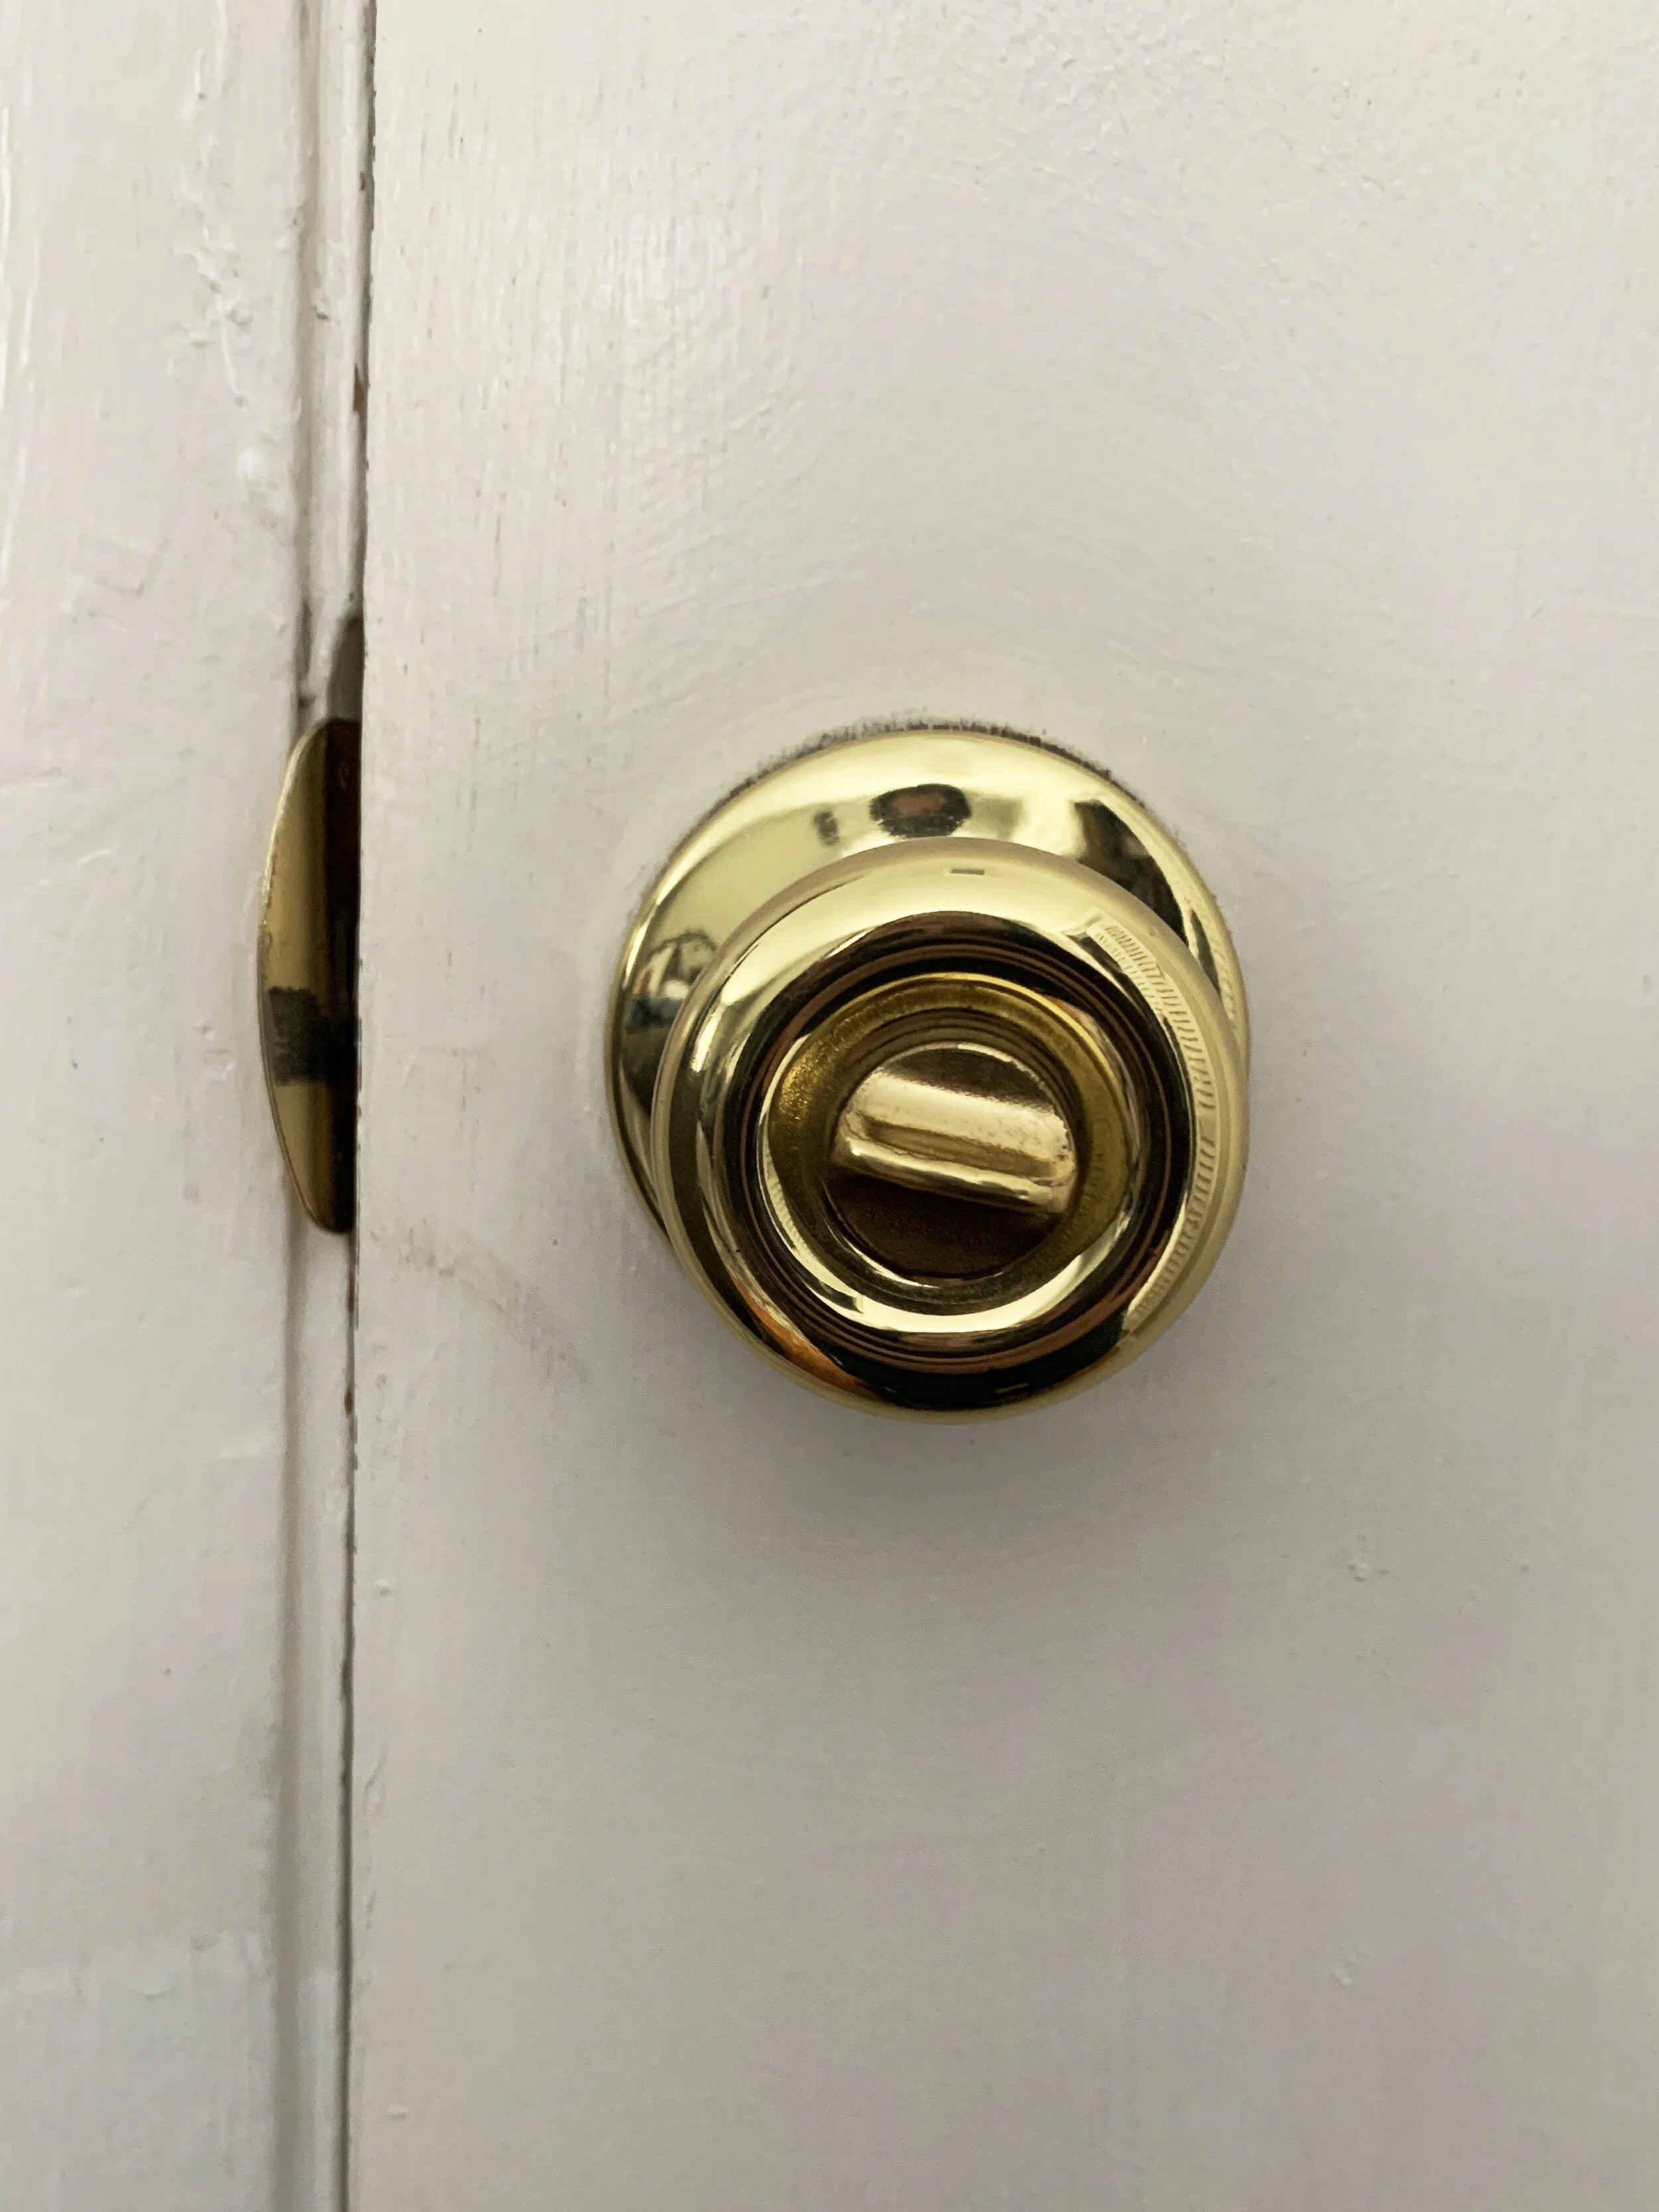
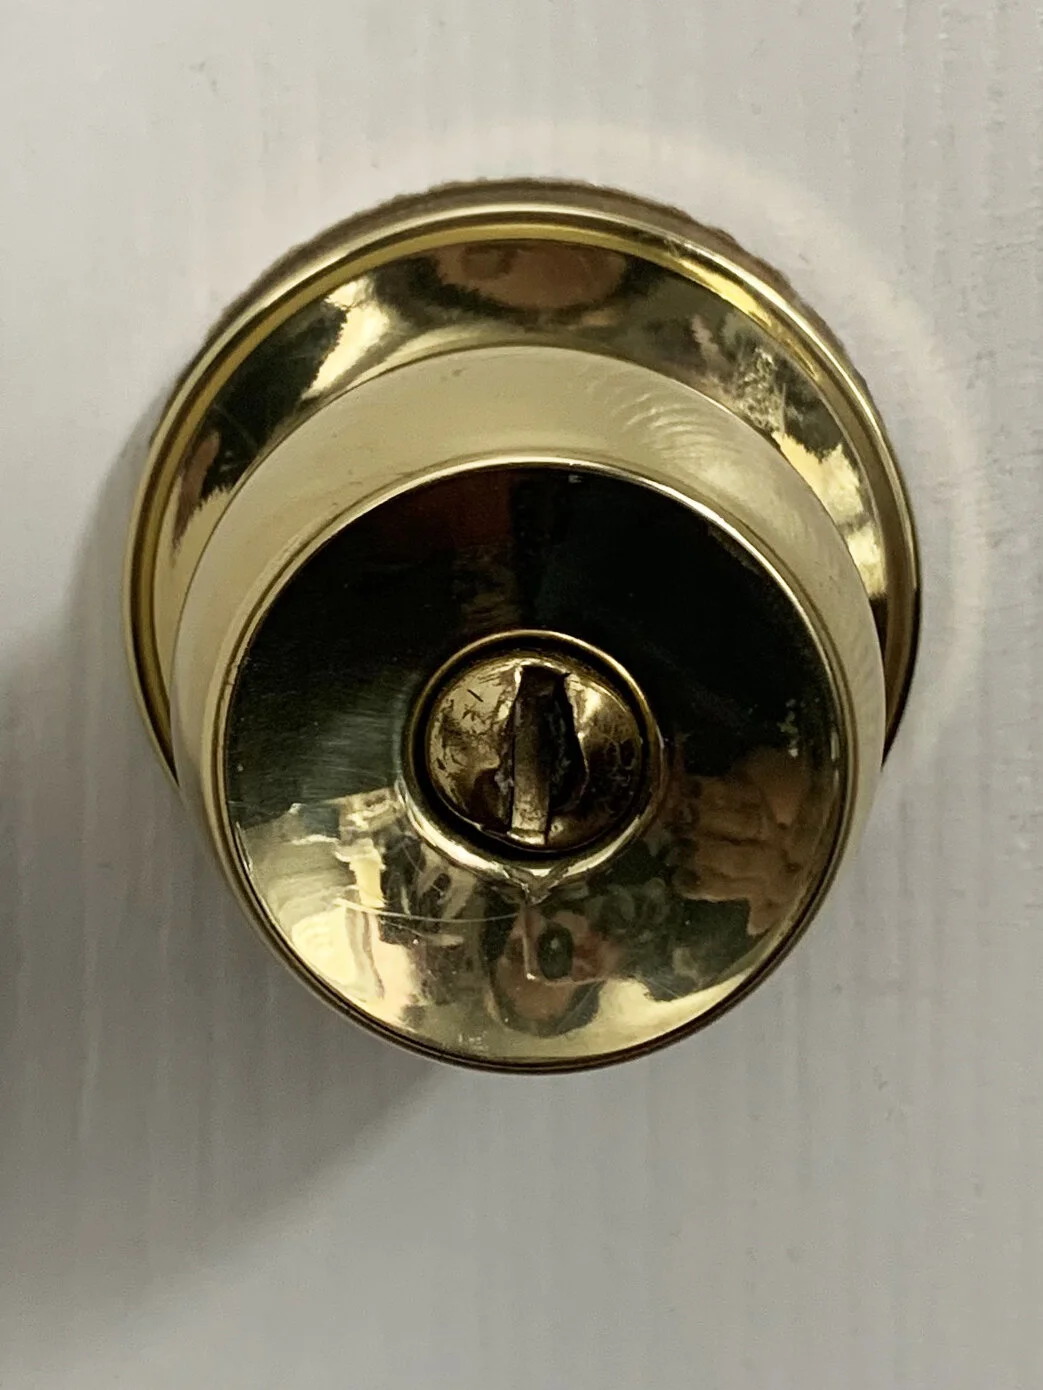
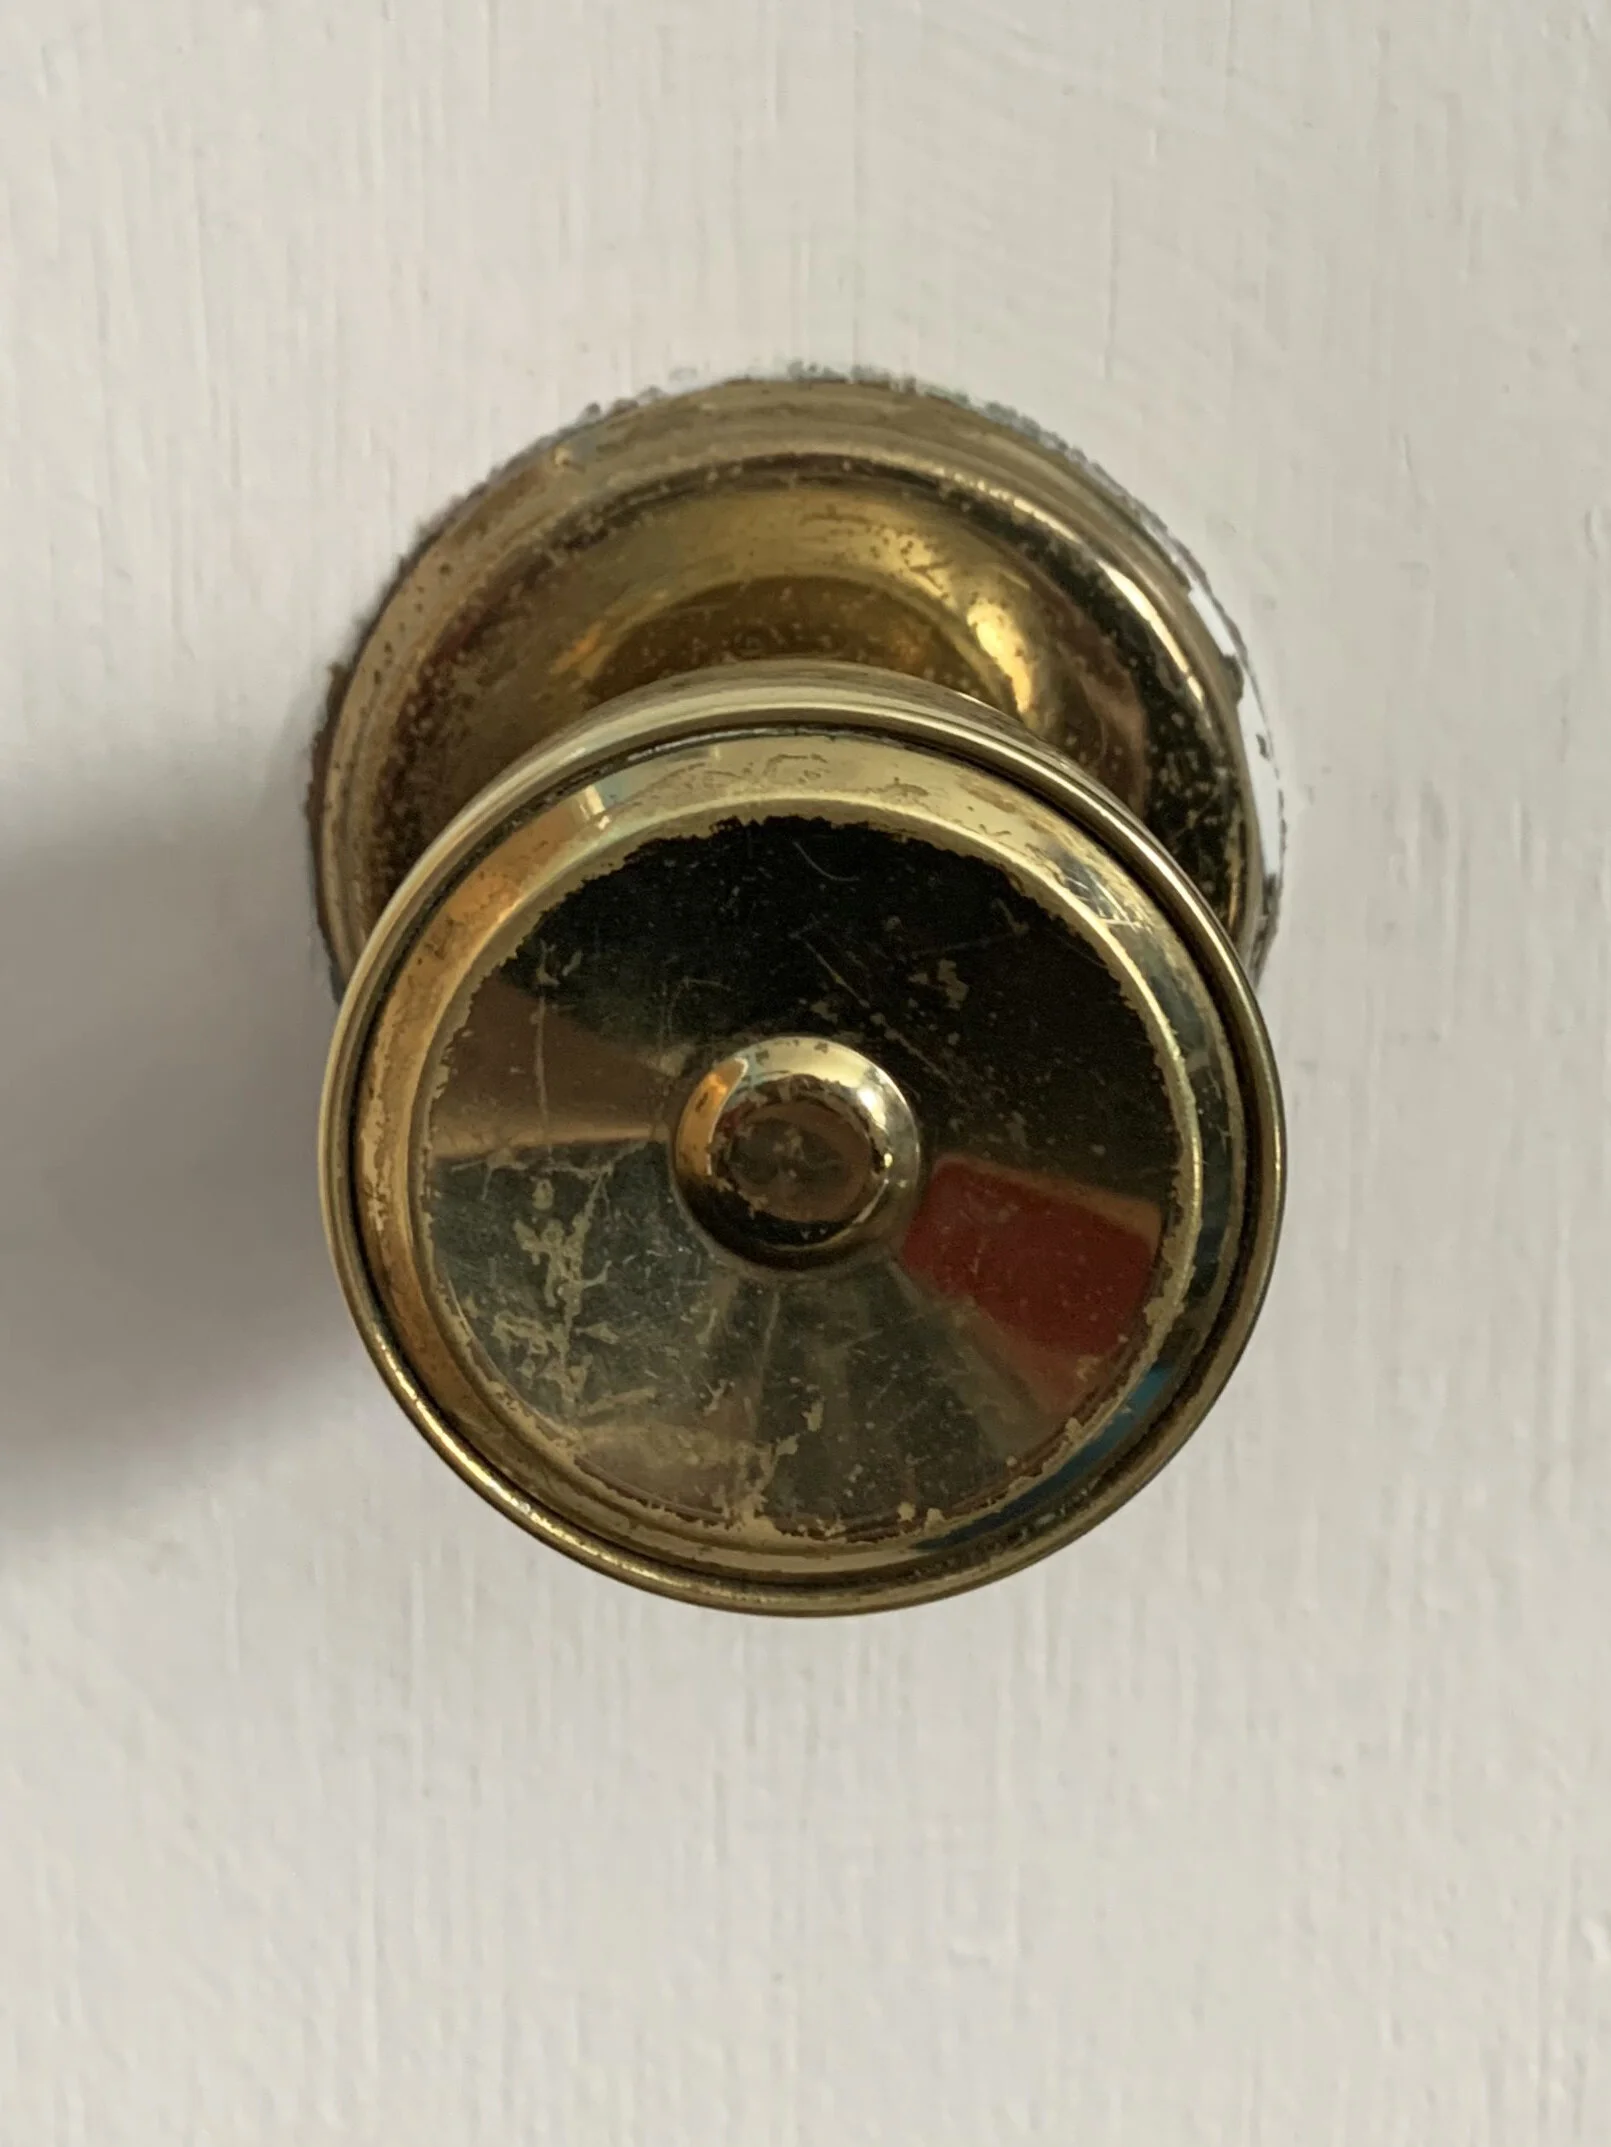
2. Doors - We needed to replace the rest of the doors. The current doors were all hollow, slab crap. They also each had a different door knob. Yes, you read that right. ALL DIFFERENT DOOR KNOBS. We knew the three bedroom doors and linen door would all need replacing before the floors and baseboard were installed to have a tight fight against the new trim.
3. Trim - We’d replaced some of the closet doors but hadn’t had time to replace the overpainted, clamshell trim. So five closet doors will need the trim replaced. (Eventually a few will need replacement doors too, but not before the floors go down.
4. Baseboard heaters - The house originally had all baseboard heating. Since we knew we wanted to expand the kitchen when we moved in, rather than reroute the baseboard heaters, we opted to upgrade the whole system to forced air vents in the attic. Many of the rads had already been removed (see Weird Sh*t), but the ones in the master bedroom and the living room still needed removal. It is a messy job with lots of sharp metal around a six year old.
5. Drywall - Wherever we took off paneling or baseboard heaters we’d potentially need new drywall. In itself, not an issue. Drywall is easy to install. Transporting it was a different thing. Since we don’t own a truck it is going to take a favor from a neighbor to help us pick it up. Also not looking forward to taping, mudding, priming and painting.
Yup, a little overwhelmed.
Step 1 - Remove paneling
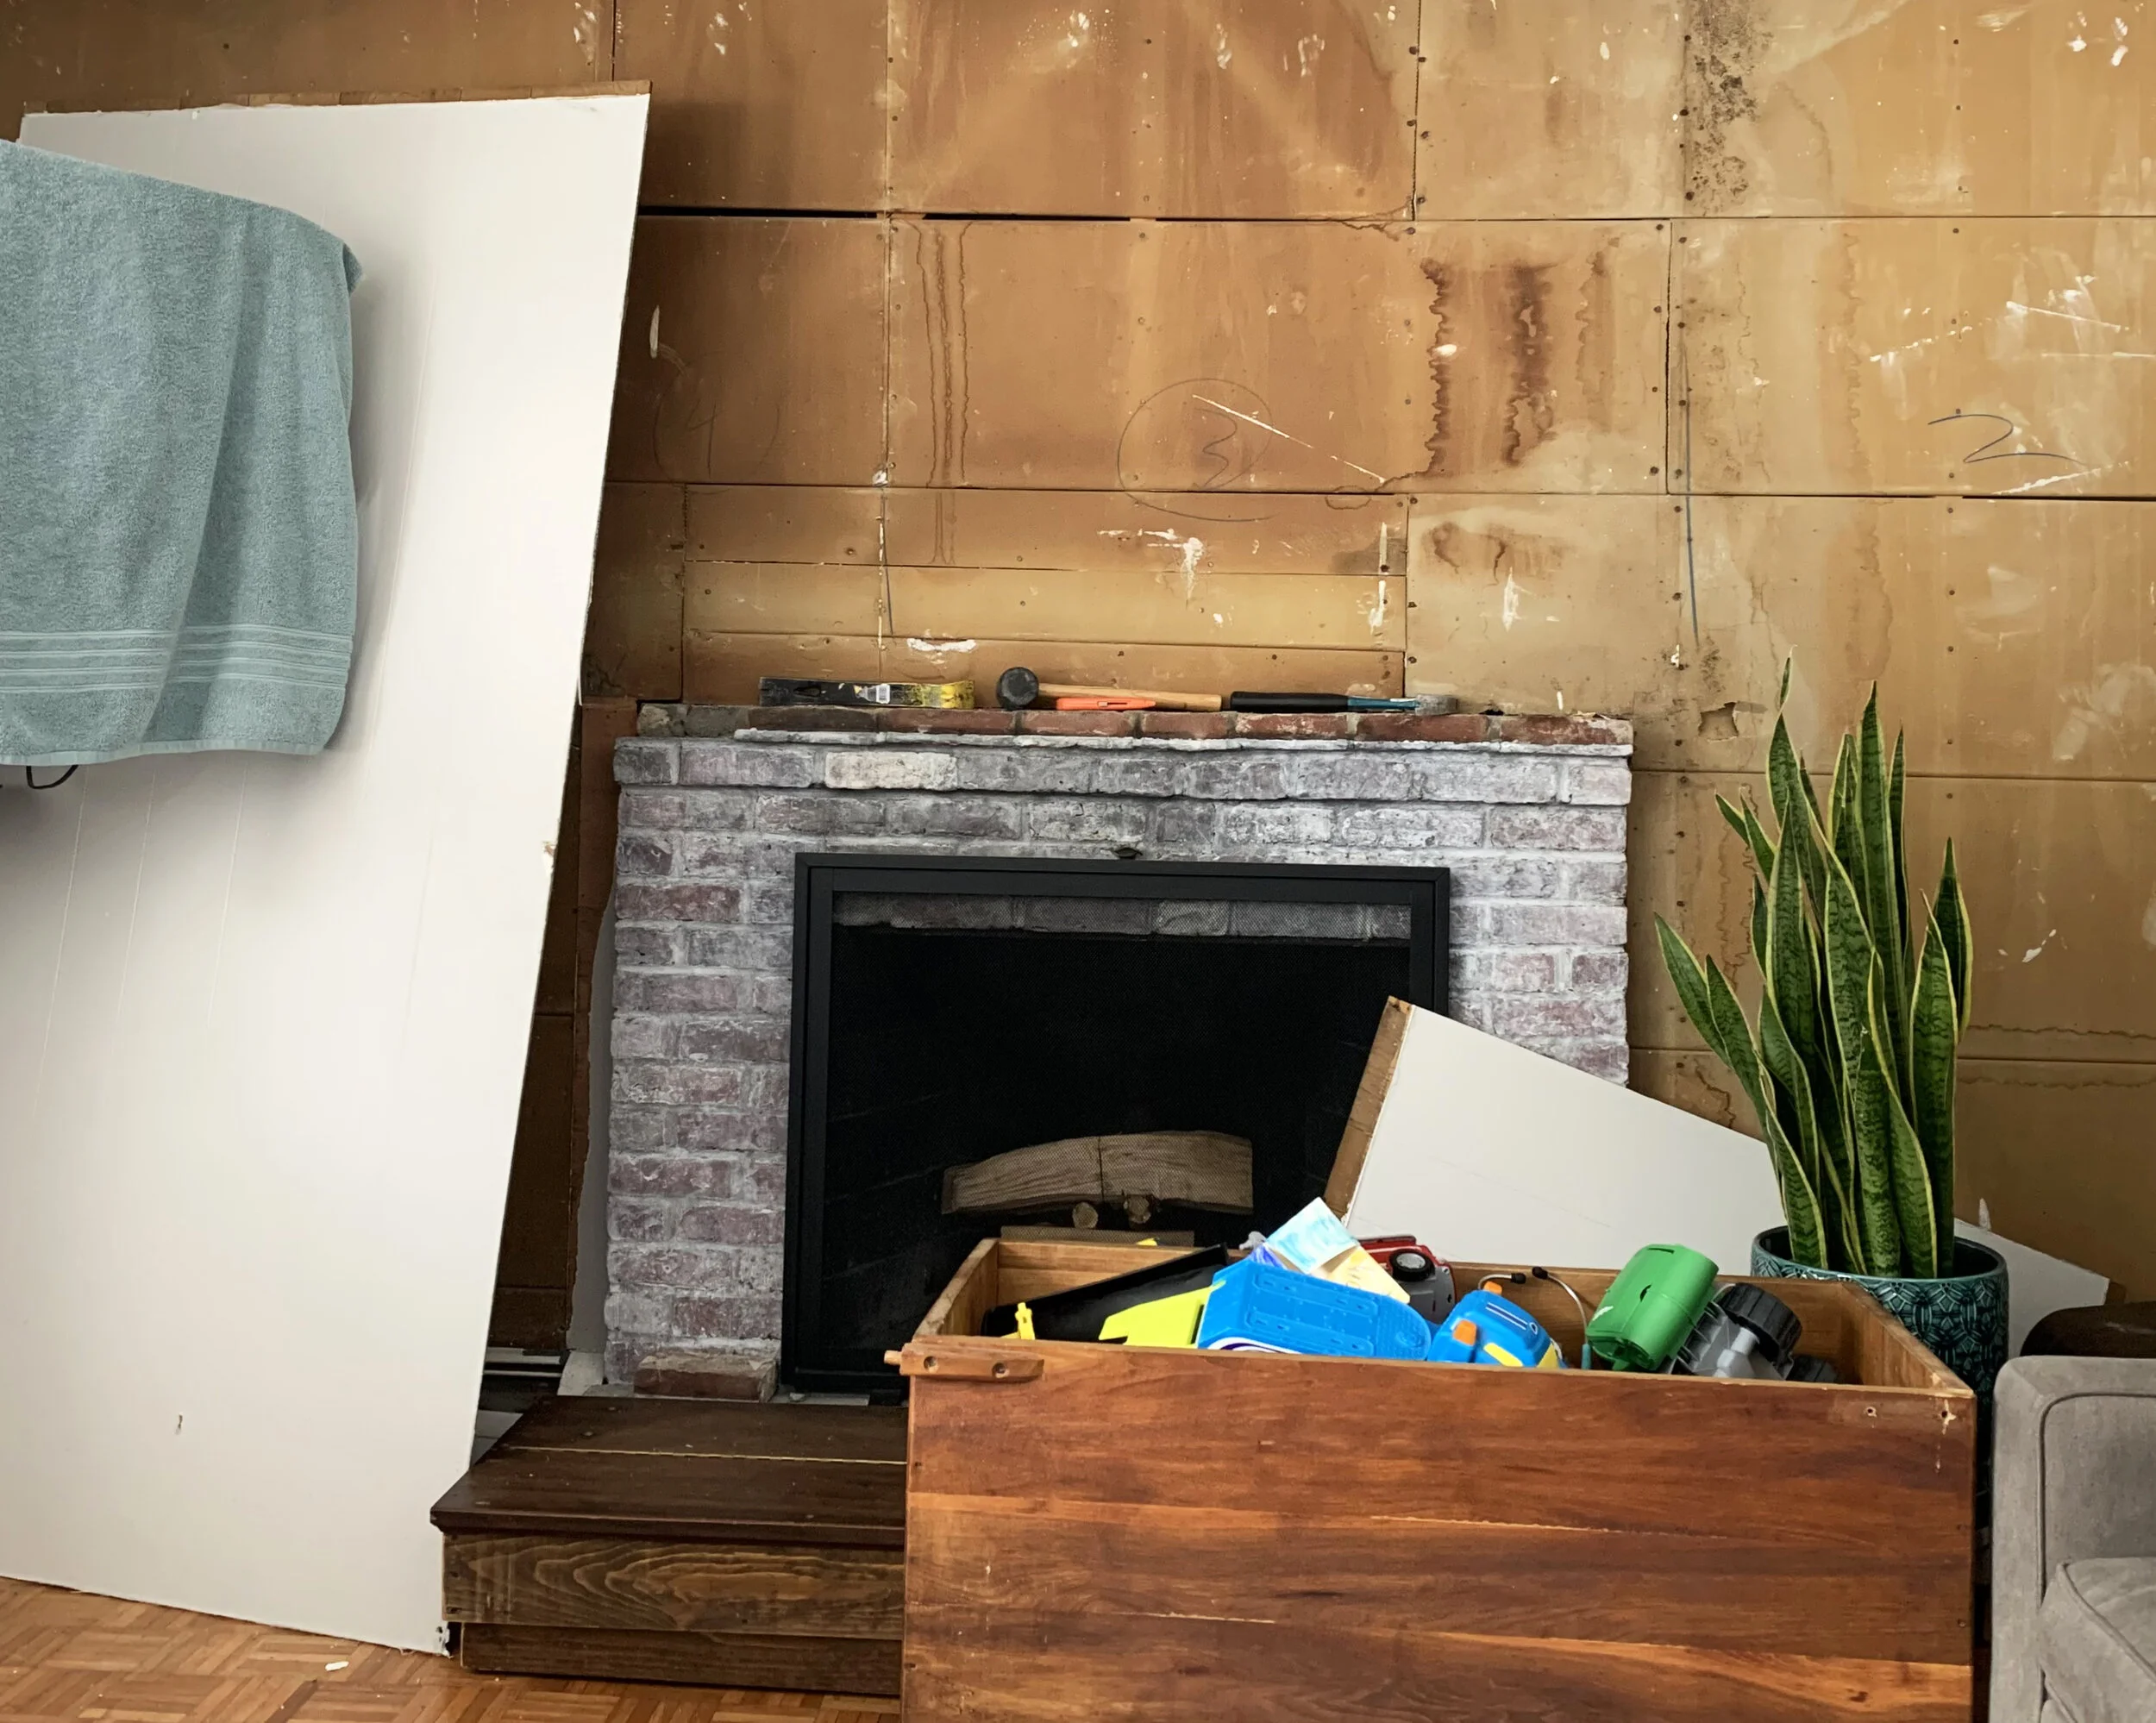
We started with the paneling because unlike the baseboards, the construction remnants won’t catch little feet. As with every project in a 1960s home, you never know what you’re going to find behind the walls. I was really worried about this with the fireplace wall. I’d updated the look of the fireplace as soon as we moved into the house. The paneling however had a buckle in it I noticed even before we purchased the home, which to me meant water damage at some point. Although home inspection didn't turn up a current issue, we knew that the flashing on the chimney we repaired had leaked at times and we’d run into issues with the previous owners simply covering up previous issues instead of fixing them.
I was also concerned that like the former mudroom, the paneling was just glued to concrete block and there were no studs or drywall back there. You can still hang on concrete, we had the air hammer to prove it, but it’s definitely not as easy and definitely not easy to hang a new mantle.
As we started tearing off the paneling, we hit pay dirt. We had studs and drywall! A renovation miracle to be sure. The drywall was old and not full sheets, but it was there, as was mold on the drywall behind the panel I mentioned. Luckily, it wasn’t bad so we continued to remove the paneling. One thing I realized is the room was noticeably colder after taking down the paneling because of gaps in the drywall and that it was now open to the uninsulated chimney area. A mental note for the future is I would definitely have the drywall on hand if I was ever to do something like this again.
We moved onto the paneling in the hall. I hated this stuff and was happy to rip it down. We started with the wall adjacent to the bathroom that would be hidden by the bathroom’s barn door when it was open. This time we found significant mold and plaster walls. So I first sprayed the mold with hairspray. This is a great trick my sister taught me to keep the mold where it is and not in the air. We then scraped off the moldy plaster, vacuumed up everything, and ran the air purifier to suck up the dust in the air.
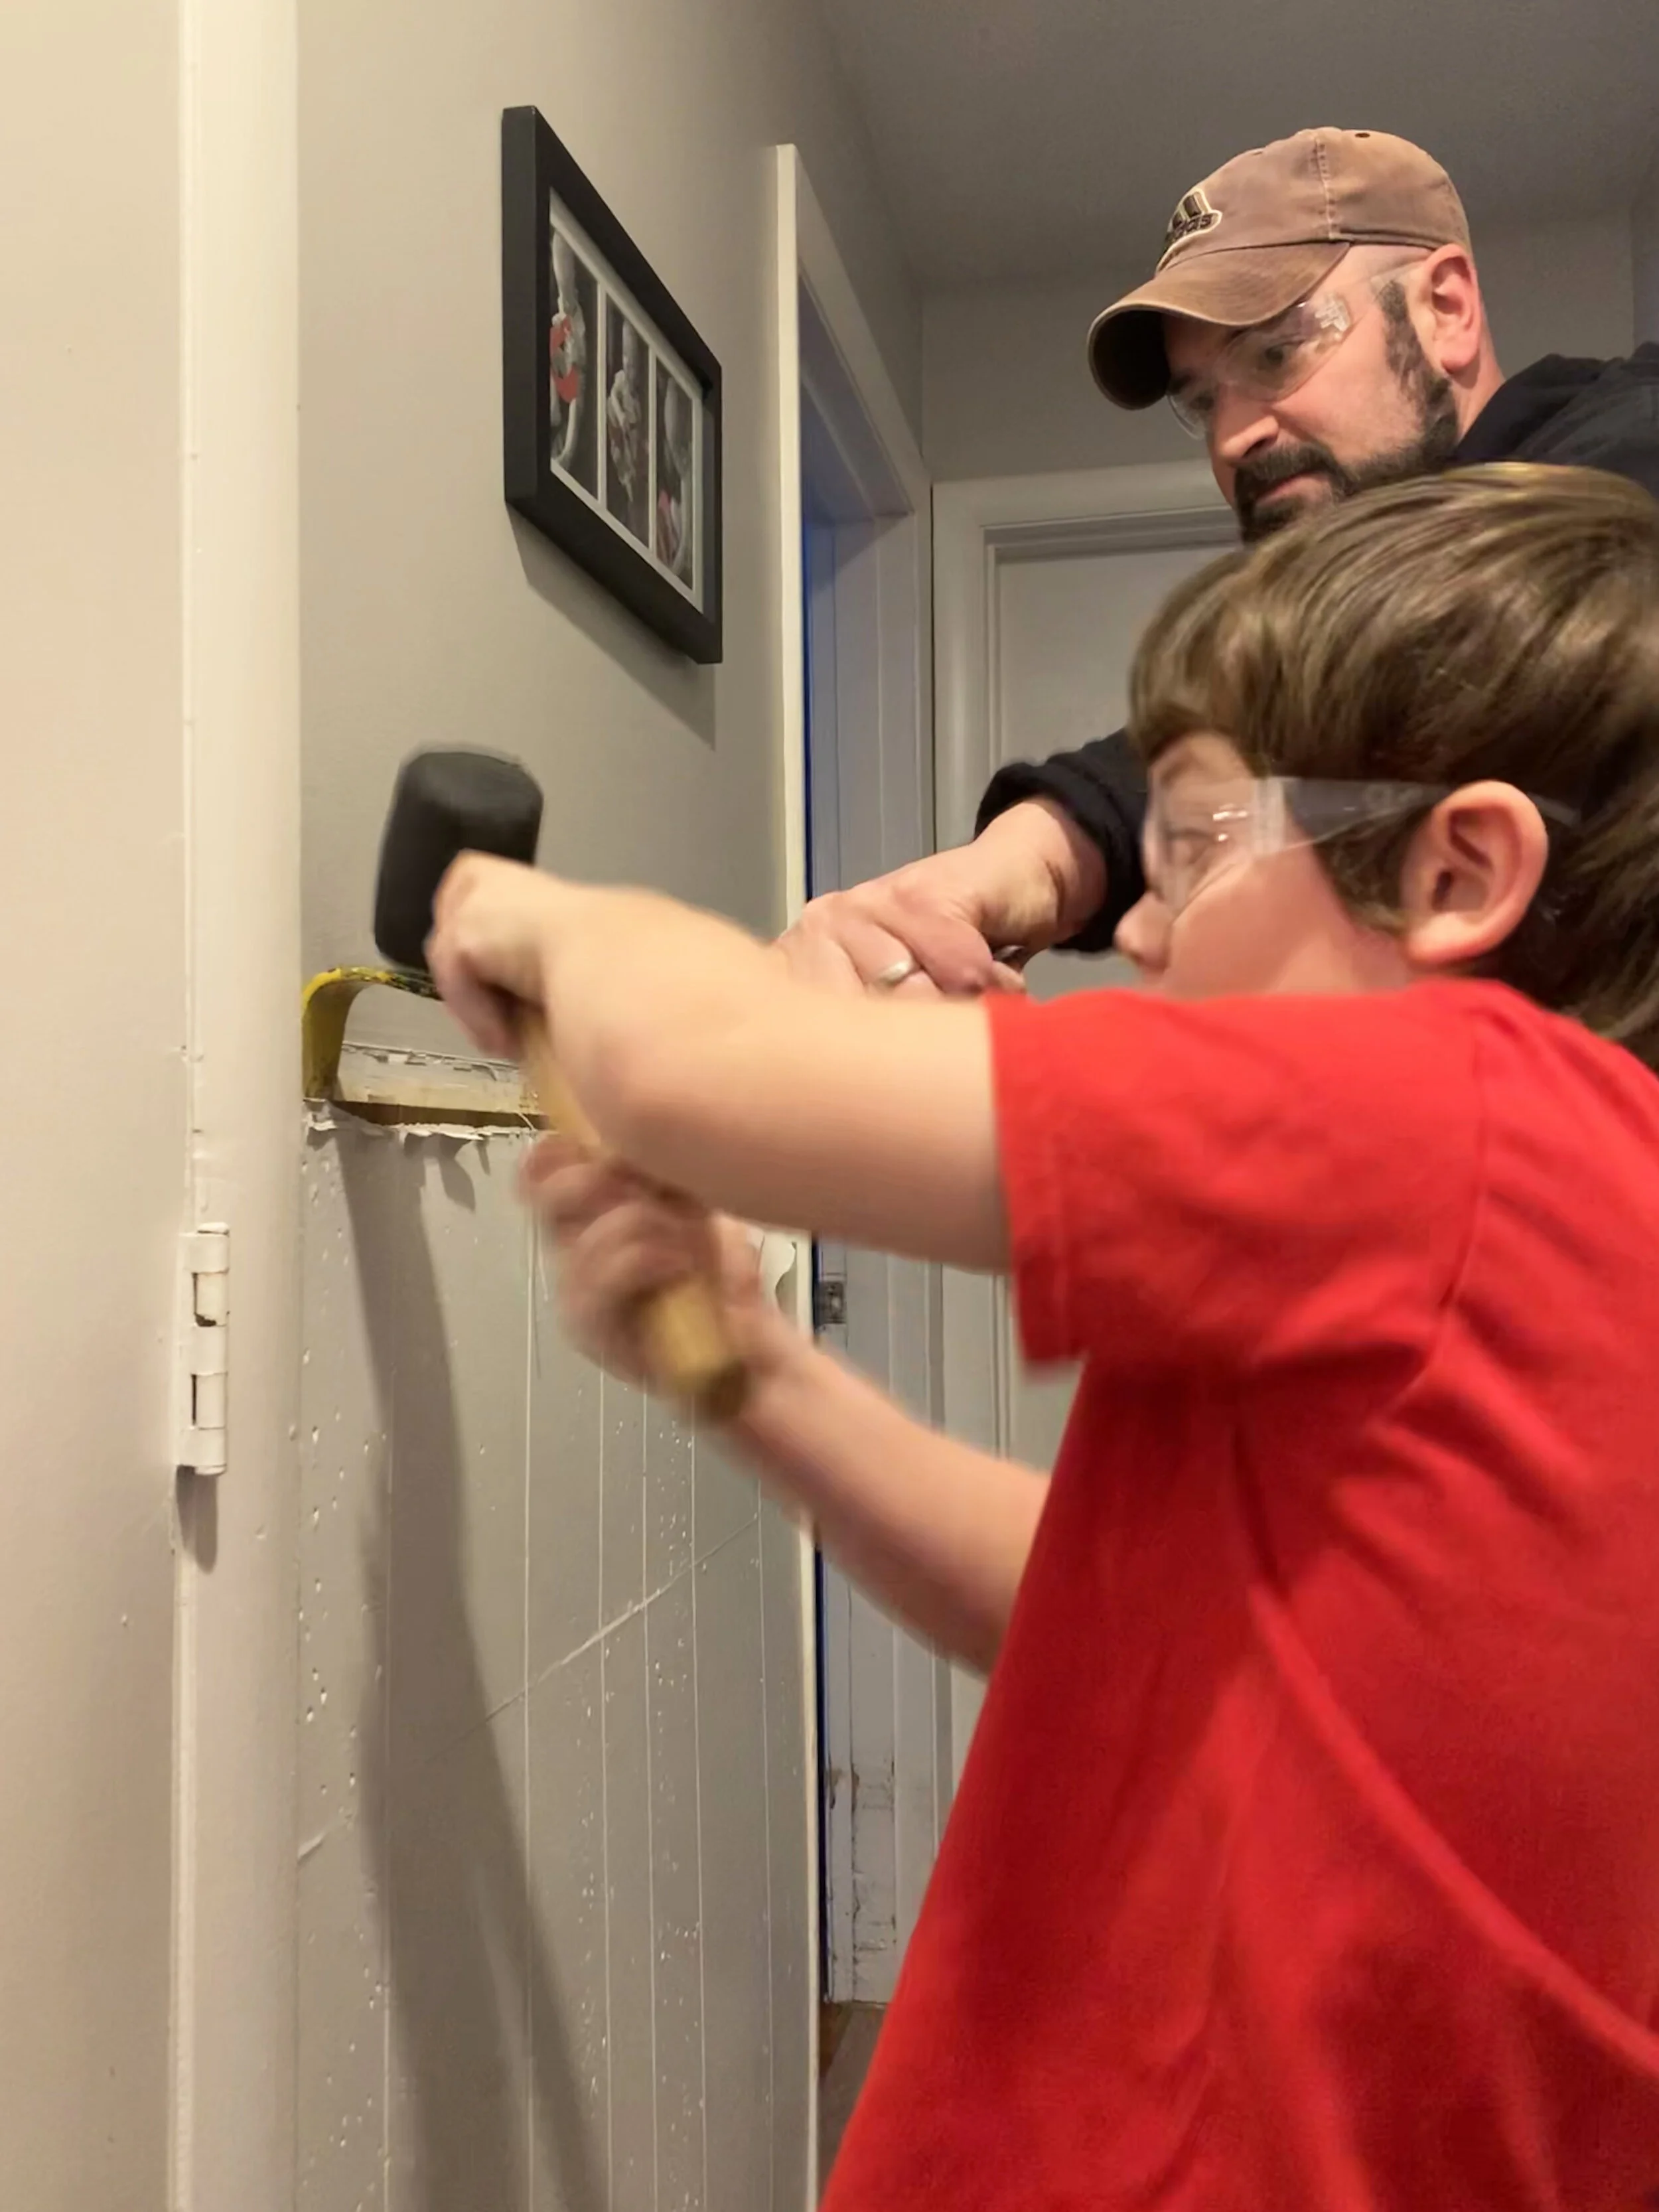
After tackling the Nest installation on the other side of the hall, I knew we would have to deal with plaster and layers of painted over wallpaper. I was not looking forward to it. Luckily with my little demo buddies, it wasn’t that bad. A little mold on the bathroom adjacent which wasn’t too surprising. Again, we hairsprayed the mold to keep it out of the air and scraped what we could. Honestly the paneling came off super easy.
My next research project will be how to best mud plaster walls. I’ll let you know what I find out!
In the end, this will take some sanding, mudding and smoothing, but the look would be so much better than the out of date MDF paneling running down the hall. Depending on if we can get a neighbor to help us pick up the drywall, we may move to that step next, or perhaps the door installation depending on turnaround. Because of the pandemic, door and window prices have shot up and so has lead time. I’m a bit concerned, but we’ll figure it out.
Hope you check back to see what we’re doing next! Remember: If I can do it, you can do it!